Image Source: Google
Drywall installation is a common project for homeowners and professionals alike. Whether you are finishing a basement, remodeling a room, or constructing a new home, knowing how to properly install drywall is essential. This step-by-step guide will walk you through the process of professional drywall installation from start to finish.
Materials and Tools Needed
Materials:
- Drywall sheets
- Drywall screws
- Tape measure
- Pencil
- T-square
- Utility knife
- Drywall saw
- Joint compound
- Joint tape
- Sanding block
- Paint
Tools:
- Drill
- Drywall screw gun
- Drywall T-square
- Utility knife
- Drywall taping knife
- Mud pan
- Sandpaper
- Texture sprayer (optional)
Step 1: Measure and Plan
Before you start installing drywall, it is important to measure the walls and ceiling of the room where the drywall will be installed. Make a plan for how many sheets of drywall you will need and how they will be positioned on the walls and ceiling.
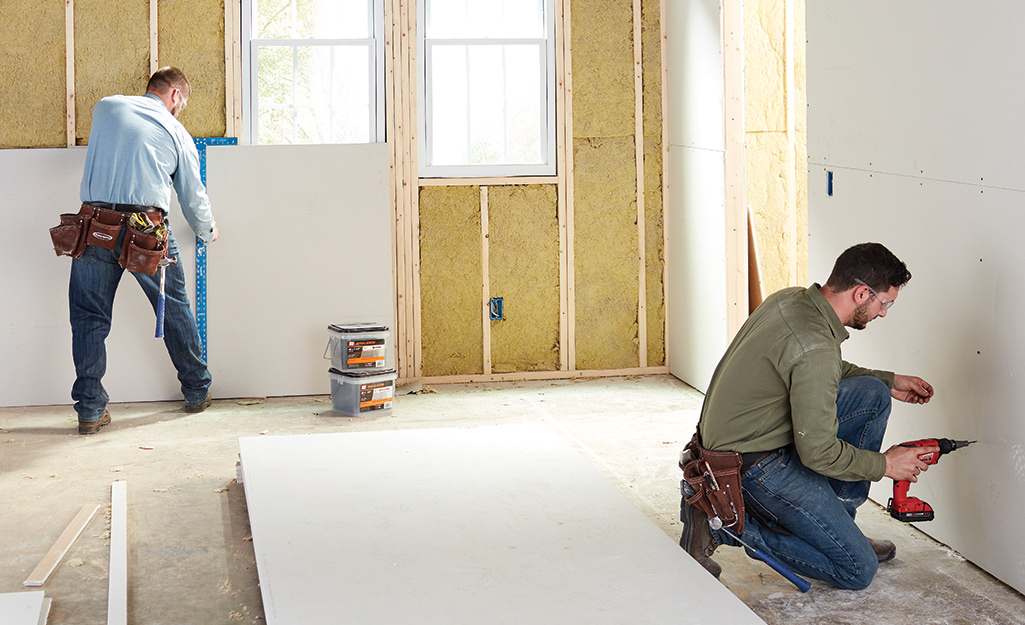
Step 2: Cut and Install Drywall Sheets
Once you have your measurements and plan in place, it's time to cut and install the drywall sheets. Follow these steps:
Cutting Drywall:
- Use a utility knife to score the drywall sheet along with the measurements.
- Break the drywall along the scored line.
- Cut out any openings for outlets or fixtures using a drywall saw.
Installing Drywall:
- Start by installing ceiling drywall first, then move on to the walls.
- Use a drill and drywall screw gun to secure the drywall sheets to the studs.
- Make sure to leave a small gap between sheets for expansion.
Step 3: Tape and Mud Joints
After the drywall sheets are installed, it's time to tape and mud the joints to create a seamless finish. Follow these steps:
Taping Joints:
- Apply joint tape to all seams between drywall sheets.
- Press the tape into the joint compound using a taping knife.
Mudding Joints:
- Apply joint compound over the taped seams using a taping knife.
- Smooth out the compound and let it dry completely.
- Apply a second and third coat of joint compound, sanding between each coat.
Step 4: Sand and Texture
Once the joint compound is dry and smooth, it's time to sand the seams and texture the walls if desired. Follow these steps:
Sanding:
- Use a sanding block or sandpaper to smooth out the joints and any rough spots on the drywall.
- Wipe down the walls with a damp cloth to remove dust.
Texturing (Optional):
- If you want to add texture to the walls, use a texture sprayer to achieve the desired look.
- Wait for the texture to dry before painting.
Step 5: Paint
The final step in the drywall installation process is to paint the walls. Follow these steps for a professional finish:
- Prime the walls with a drywall primer to ensure even paint coverage.
- Choose a paint color and finish that complements the room.
- Apply the paint in even coats, allowing each coat to dry before applying the next.
- Touch up any missed spots or imperfections for a flawless finish.
By following these steps, you can achieve a professional drywall installation from start to finish. Remember to take your time and pay attention to detail for the best results. If you're unsure about any step in the process, don't hesitate to consult with a professional for guidance. With the right materials, tools, and techniques, you can successfully install drywall in any room of your home.